
Upload images (photos and graphics)
This section covers images that are uploaded to a web page, through the Responsive Filemanager (folders holding images and files for website display).
NOTE: When making a post (blogs, articles, news, etc) using the form upload, images are uploaded directly from your computer and do not require formatting using instructions in this section.

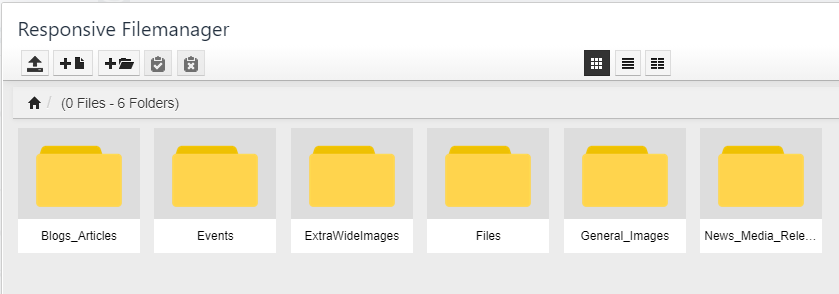
The Filemanager contains folders, added by the website manager, to allow images (and files) to be uploaded to your web pages. Make sure all images are uploaded to a yellow folder. If needing to change an existing image, ensure the image is renamed before upload, otherwise the website will read it as the same unchanged image).
Image size and format
Before you start, ensure that all images and graphics are jpg, gif, png and/or avi and must be no bigger than 1mb. If too large they will slow the website down and may break the page.
An image can be reduced, on the page, after upload to the Responsive Filemanager. However, it shouldn't be made bigger, on the page than the original size, because the image will become fuzzy.
jpgs are best for photos
gifs are better for flat colour graphics such as logos
pngs for transparent backgrounds
Scan all images at 72 dpi. Alternatively, convert original images to no bigger than 1400 pixels wide - this is the largest you will need on a web page.
Image sizes for different parts of your page
Find an image size (already uploaded image)
If you are unsure of the size of an image that is already uploaded.
Check in the 'Responsive Filemanager'.
-
-
Go: Site Tools > File Manager
-
Find the image.
-
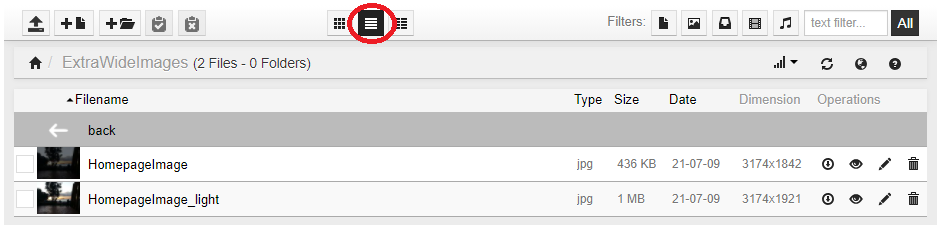
Change the viewing layout to 'List view' and it will list the images and the dimensions (in pixels).
-
You might choose to keep your image sizes in your 'Keep Notes' (left menu in Edit mode).
Resize images
BACK TO MENU
You need to be logged in.
-
Place your cursor into the text editing area, where you want your image to appear. If the image is to appear between paragraphs, open a paragraph gap and place your cursor in the middle, between paragraphs. If cutting the image into the text (left or right), place the cursor on the left at the beginning of a sentence.
-
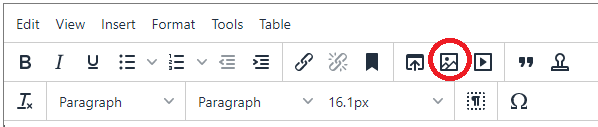
Upload the image by clicking the icon “insert/edit image”, (looks like a photo of a mountain.)
-
Click onto the icon to the right of the source window (looks like an arrow upload icon).
-
Open or create a new folder as needed. If the image is already uploaded find the image and go to point 7.
-
Select ‘Upload’ (top left hand icon up arrow). Add files or Drag & Drop files, or click in the area displayed (modern browsers) and select the file(s). Start Upload. When the upload is complete, click ‘Return to files list’ button.
-
Select the image to place onto the page. Click OK. Note that you might elect to tick 'Show Caption' to add a caption under the image.

Your image will appear on the page.
NOTE: Images are automatically made responsive so they shrink to fit all screens.
NOTE: If you are cutting the image into text, see 'Text wrap an image' (below)
To check, or take the responsive attribute off:
8. Select your image.
9. Select ‘formats’ / select ‘Responsive Styles’ / click ‘Responsive Image’ on or off.
BACK TO MENU
What are the differences between Image Titles and Image Alt Tags?
BACK TO MENU
BACK TO MENU
Trouble shooting: Image not showing on page
BACK TO MENU
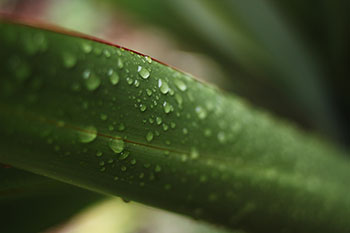
Original image size shown is 350 x 233
Reduced size shown 180 x 121
Resize the image by selecting it and moving the bottom right blue square corner into the centre.
Or select the image and select the insert edit image icon. Alter the measurement - changing one measure proportionately alters the other measure.
Don't enlarge the image since that will pixelate the image and make for poor quality viewing.
Make sure your uploaded images are not too big. No bigger than 500kb. If they are too large then they will slow the site down.
BACK TO MENU
You need to be logged in.
To get an image to sit left or right, with the text wrapping around it.
-
Place the cursor at the beginning of the text, where you wish to place the image.
-
Upload the image to the page.
-
With the image highlighted, go to the left 'Paragraph' dropdown menu containing Alignment.
-
Select either Block/Image Left with margin or Block/Image Right with margin.
NOTE: If you have added a caption, under the image, go to the Alignment dropdown and use 'Left' or 'Right' instead of Block Image.
Block/Image Left with margin. Maecenas non eleifend nibh. Sed tincidunt accumsan justo, ut vestibulum velit blandit quis. Lorem ipsum dolor sit amet, consectetur adipiscing elit. In libero nisl, ultrices ut imperdiet vitae, varius in mauris. Nunc ut dolor nec lacus vehicula consequat at vitae ligula. Nullam convallis, diam ut maximus egestas, lorem sapien maximus orci, vitae porta nunc mauris at nisl. Suspendisse sed tortor at nisi gravida ultrices. Donec urna purus, hendrerit id diam in, vulputate pellentesque justo. Class aptent taciti sociosqu ad litora torquent per conubia nostra, per inceptos himenaeos. Nulla semper augue id scelerisque venenatis. Ut commodo nec justo vitae semper. Donec eu posuere neque. Nunc neque magna, ullamcorper quis auctor eget, convallis id diam. Pellentesque sollicitudin facilisis metus at suscipit.
BACK TO MENU
BACK TO MENU
BACK TO MENU
BACK TO MENU
BACK TO MENU
To get a caption aligned and flush underneath your image, it must be done in the order below.
You need to be logged in.
Insert your image into the page. See above 'Placing images into your text content'.
Apply a caption to your image
-
-
Click on your image.
-
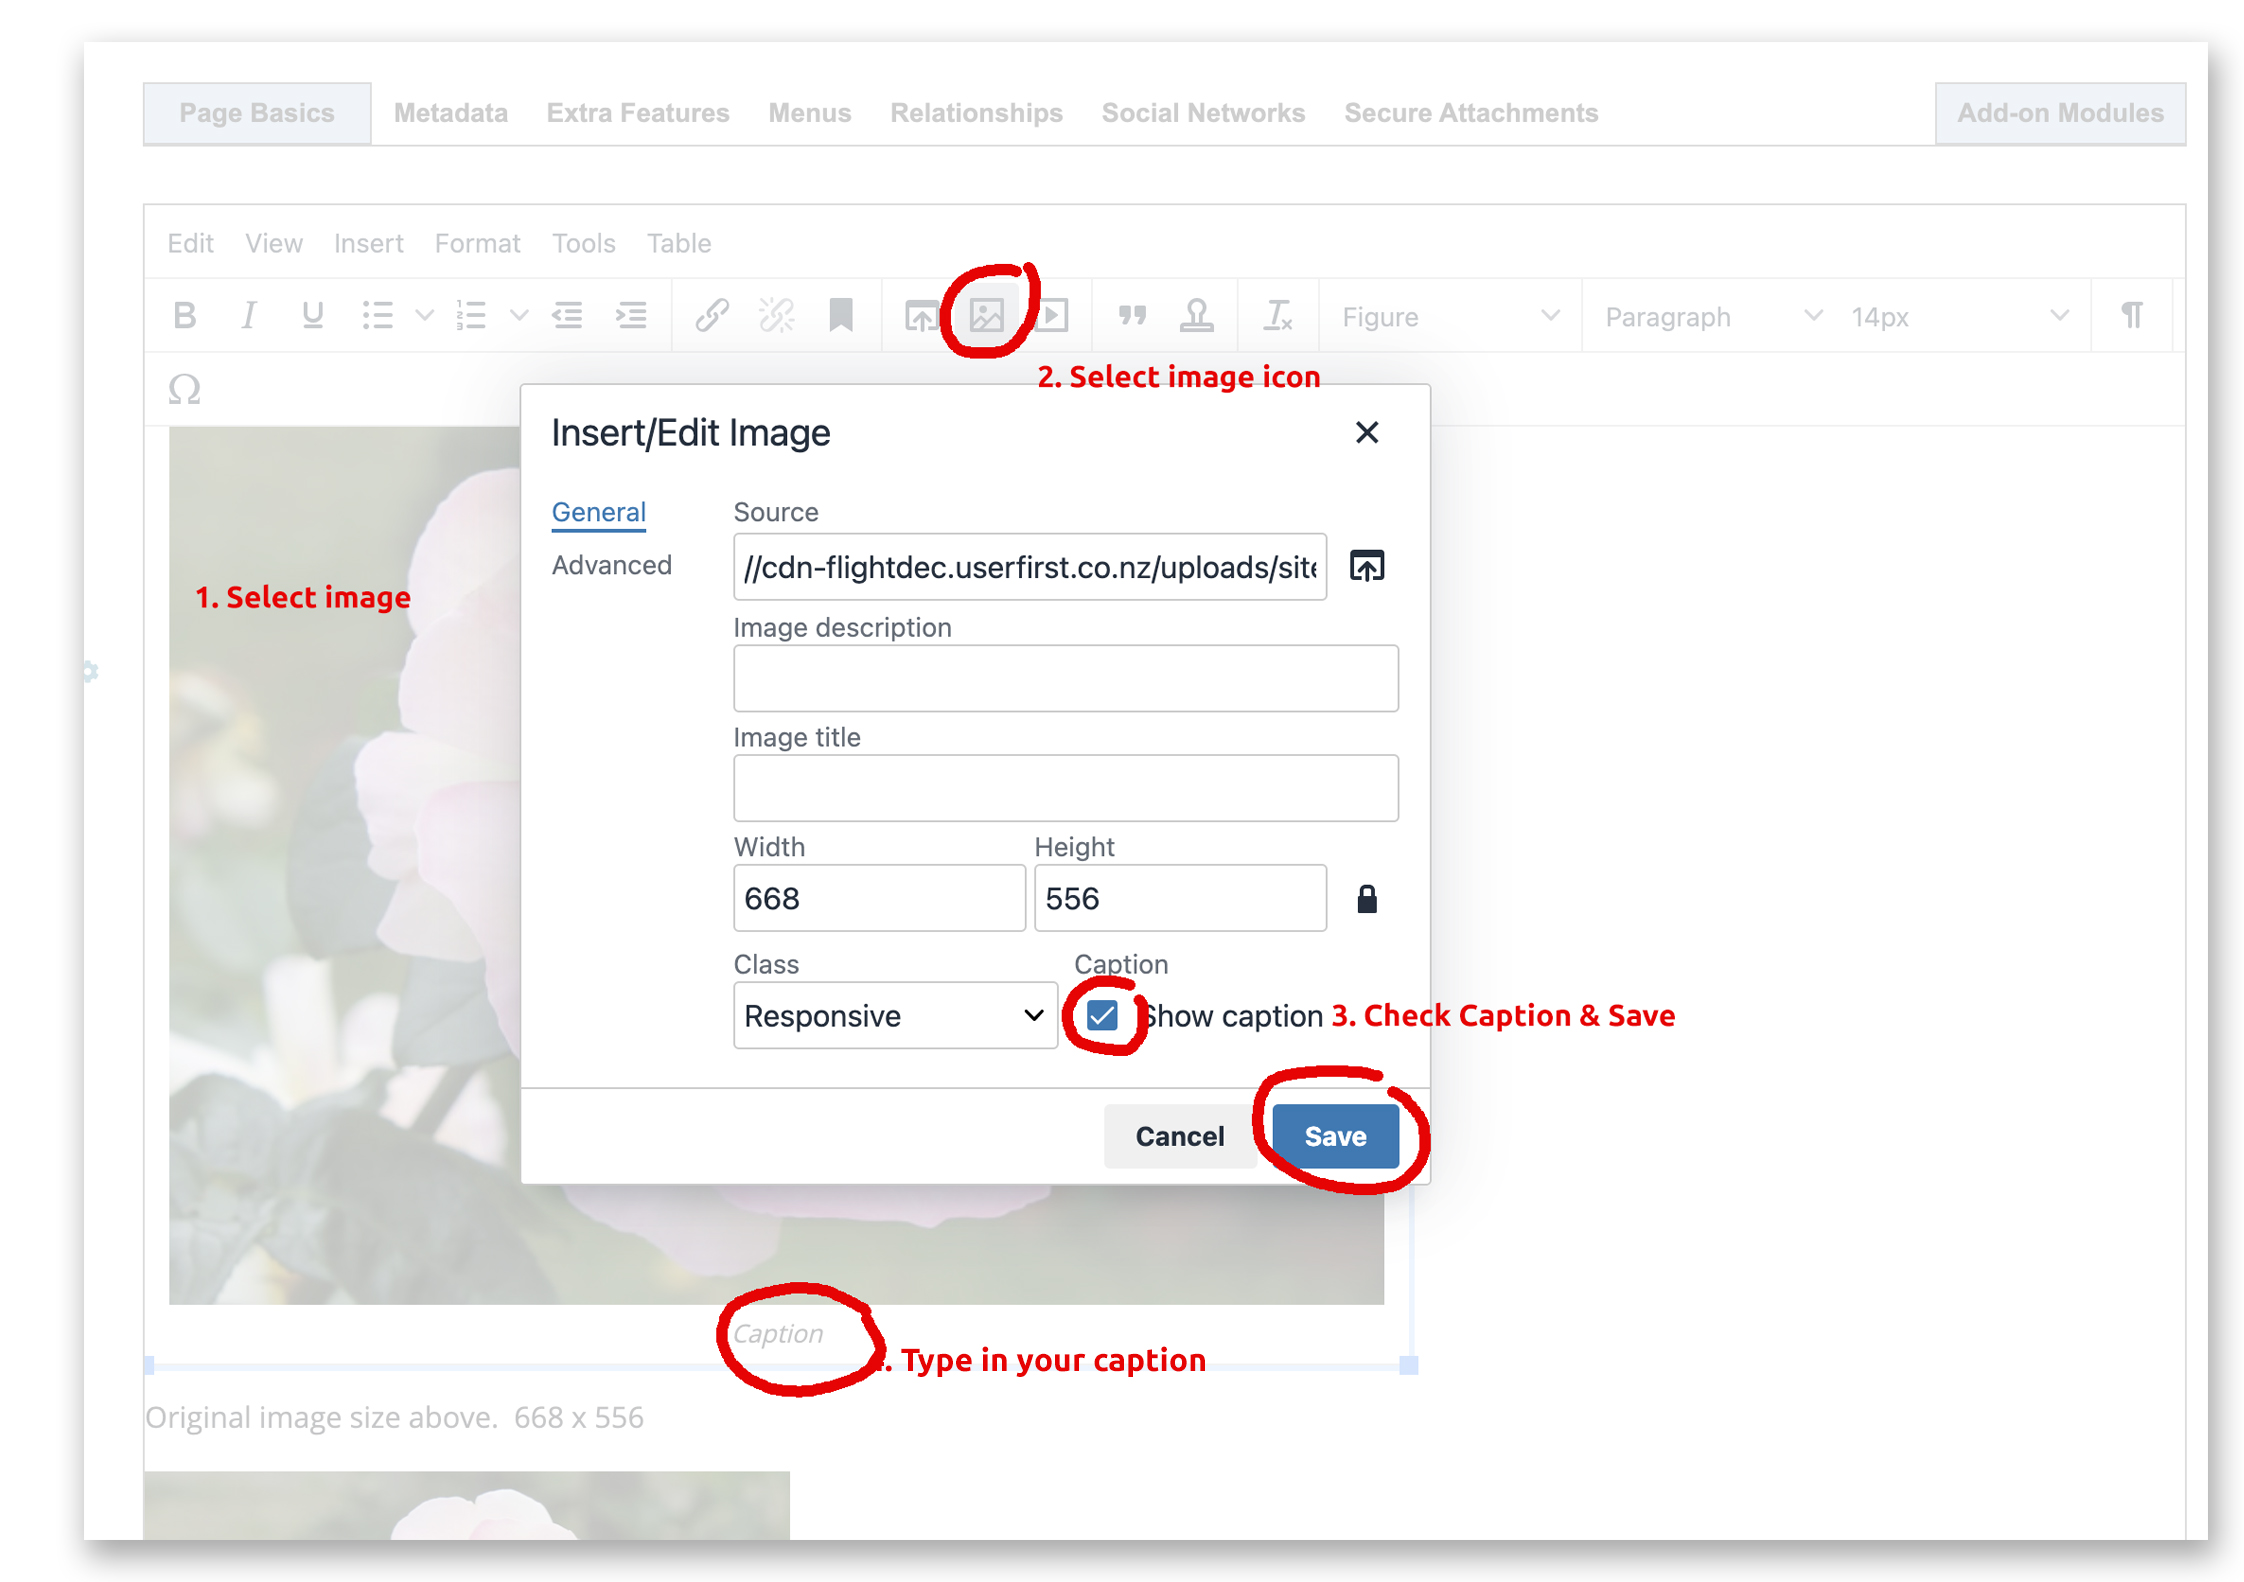
Select the Insert/edit image icon from menu above. .
-
Tick the "Show caption" button. Click Save.
-
Highlight the word Caption and type or paste in your caption text. Save Page.
-
If you wish the image to align left or right around body copy go to Formats/alignment left or right. (Not Block).
-
If it's not working, start afresh and reinsert your image.
Note: Image description: a detailed explanation of an image that provides information to visually impaired users.
Image title: is the text which a user sees after hovering over the image.
BACK TO MENU
BACK TO MENU
BACK TO MENU
Create a signature image using a screen capture
When you make a screen capture, or snippet, for use as a Signature Image, make sure the main content of your image is in the centre of your selection because the image will auto-crop as a square or rectangle, depending on where it is displayed. Your selection should be roughly wide rectangular in shape and needs to be at least 400 pixels at the shortest axis.
On a PC use the snippet tool.
Select the Start button or search icon next to it, type snipping tool in the search box on the taskbar, and then select Snipping Tool from the list of results.
In Snipping Tool, select Mode. In earlier versions of Windows, select the arrow next to the New button. Select Rectangular Snip, you’ll see the whole screen change slightly to gray. Then, choosing from anything currently displayed on the screen, select a squarish area of your screen to capture.
On a Mac use keyboard commands.
Press and hold these three keys together: Shift, Command, and 4.
Drag the crosshair to select the area of the screen to capture.
To move the selection, press and hold the Space bar while dragging. To cancel taking the screenshot, press the Esc (Escape) key.