
This is an Add-On MODULE
Right Hand Side Panels
Right hand content can be made up of individual pages.
This is a module and referred to as 'Custom Panel 1'
The page they are viewed on is created or edited in Step 2 below.
What is a Custom panel and why is it done in this way?
A Custom Panel is a self-contained element that appears in the right column of website pages (if your site is set up with right columns). It works like a mini page, holding text, images, links, videos, or a mix of these. For example, the grey menu list on this page is a Custom Panel.
Custom Panels help organise your site by adding secondary navigation and highlighting related content. They can also promote specific items—such as an event or special offer, by placing the same panel across multiple high-traffic pages.
Because a Custom Panel is created once and reused, you only need to edit it in one place to update it everywhere. Panels start as regular pages, then are converted for display as Custom Panels.
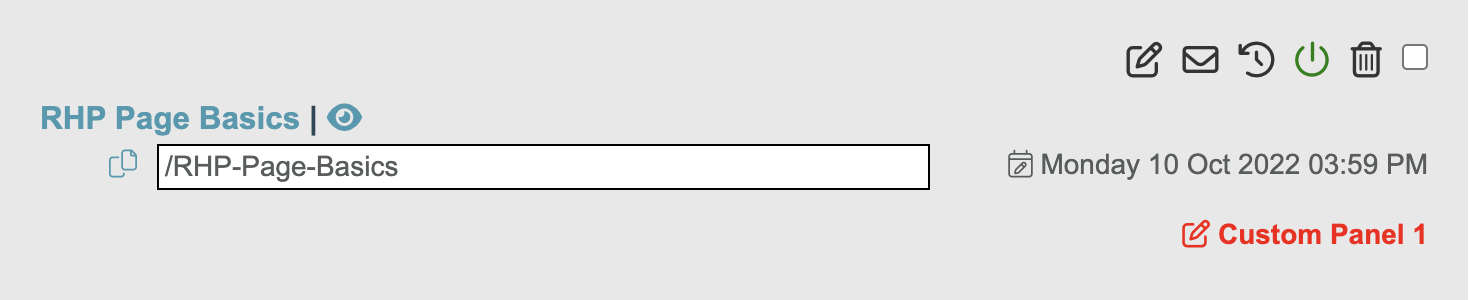
Once made, the Custom Panel can be seen in your Pages List (see this example with the special red note) and is available to load on any other pages.
Step 1. Making the right hand page and placing the content on it.
To create a "Custom Panel"
-
- Go Create / Edit Pages. Name the page RHP_ page name. etc (Right Hand Panel). SAVE
- Put your graphics and text on the page. SAVE
- Under the menu item 'Add-on Modules' (top right) click Custom panel 1.
- Tick the box “Make this page a custom panel? SAVE
Step 2: Add the Custom panel to a page
-
- Go to the page you want to display the RHP (Custom Panel) on.
- Under the menu item 'Add-on Modules' (top right) click Custom panel 1.
- Under
Display Custom Panels
Right-Hand Column
tick the box and tick any of the ‘Available Panels’ you want to include or delete on that page. SAVE
To edit an existing Custom Panel
To add or remove an existing Custom Panel to any page
Reordering Customs panels on right hand side
Reordering Active Modules on Right hand side
Default RH