How to create, add, place Gallery module, image gallery add-on, website image gallery, photo slideshow, lightbox gallery, preview thumbnails, refresh thumbnails, image captions, replace gallery images, thumbnail size, single gallery thumbnail to your site, page, admin.
How to Add a Gallery to a Page
1. Prepare Your Images
-
Resize to approx. 800x600px @ 72dpi.
-
Name files using keywords for SEO, the filename becomes the caption.
For more on images and resizing them, see here.
2. Insert a Gallery Module
- Edit or create your desired page.
- Go to Add-on Module select Gallery to make it available.
- Select Make this page a Gallery, fill out the form, and Save.
- Click Back to page setup.
3. Upload Images
- Click the Insert Image icon in the toolbar.
- Click the arrow icon next to the Source window.
- In File Manager, open the
gallery folder, then the folder named after your page (auto-created).
- Upload your images there.
- Close File Manager and Save.
4. Preview & Publish
- Save the page and click the eye icon to preview.
- Go to Page List > Empty Cache (top right button).
- View your live page.
Note: The gallery only appears on the live site, not in the admin preview.
How to Replace, Delete, or Rename Gallery Images
Rename Images, replace images, change image names, delete images in the gallery folder within the file manager.
1. Access the Gallery Folder
- Edit the page (note: galleries only show on the live site).
- Click the "Image Details" icon (mountain photo) in the toolbar.
- Click the "Browse Files" icon to the right of Source in the Insert/Edit Image window.
- In File Manager, open the
gallery folder, then the folder named after your page.
2. Manage Your Images
- To upload images: At the top of the File Manager window use the "Drop file here or click to upload" button.
- To download, delete or rename: Select the appropriate icon below or beside the image.
2. Save & View
- Close File Manager (X) and save the page.
- Click the eye icon (top right) to preview.
- In Page List > click Empty Cache (top right).
- View your updated page live.
Note: Gallery thumbnails don’t display in the editor or preview, only on the live site.
Change thumbnail size
Thumbnails default are set as 100px x100px.
You can adjust this under Add-on Modules → Gallery → Thumb dimensions (sq), then save the settings.
Select the refresh thumbnails so they don't appear blurry.
Single gallery page
A "Single gallery page" refers to a gallery where only one preview thumbnail is displayed. Clicking that single thumbnail opens larger versions of multiple images viewed in a slideshow.
To create a Single Thumbnail Image Gallery:
-
In Add-on Module → Gallery:
- Set Thumb dimensions (sq) to 900 (fills the main content width).
- Set Single gallery page to 1 (or your preferred number).
- SAVE.
-
In File Manager → Gallery → Page Name:
- Add a single gallery image that you have created (900px wide) with a graphic and text like "Click Here" or "To view [XX], click here."
- Name this image: "000_View slideshow here".
Thumbnail images looking blurry?
If gallery image thumbnails appear blurry or pixelated, use the Refresh Thumbnails option under Gallery Module → Thumb dimensions (sq).
This issue occurs when thumbnail dimensions are changed after images have been loaded. Since gallery thumbnails default to 100×100px, they must be refreshed to reflect the new dimensions properly.
To centre a gallery in middle content
On the page you want to centre the gallery:
- Go: 'Extra features'
- Paste the following code under: Style & Functionality
Page Styles: .col-12 col-sm-4 hidden-print {display:none;} /* this will delete the right hand column on the page*/
Page Scripts: jQuery("#content-top").append( jQuery("#content") ); /* this will centre the thumbnails on the page*/
- SAVE
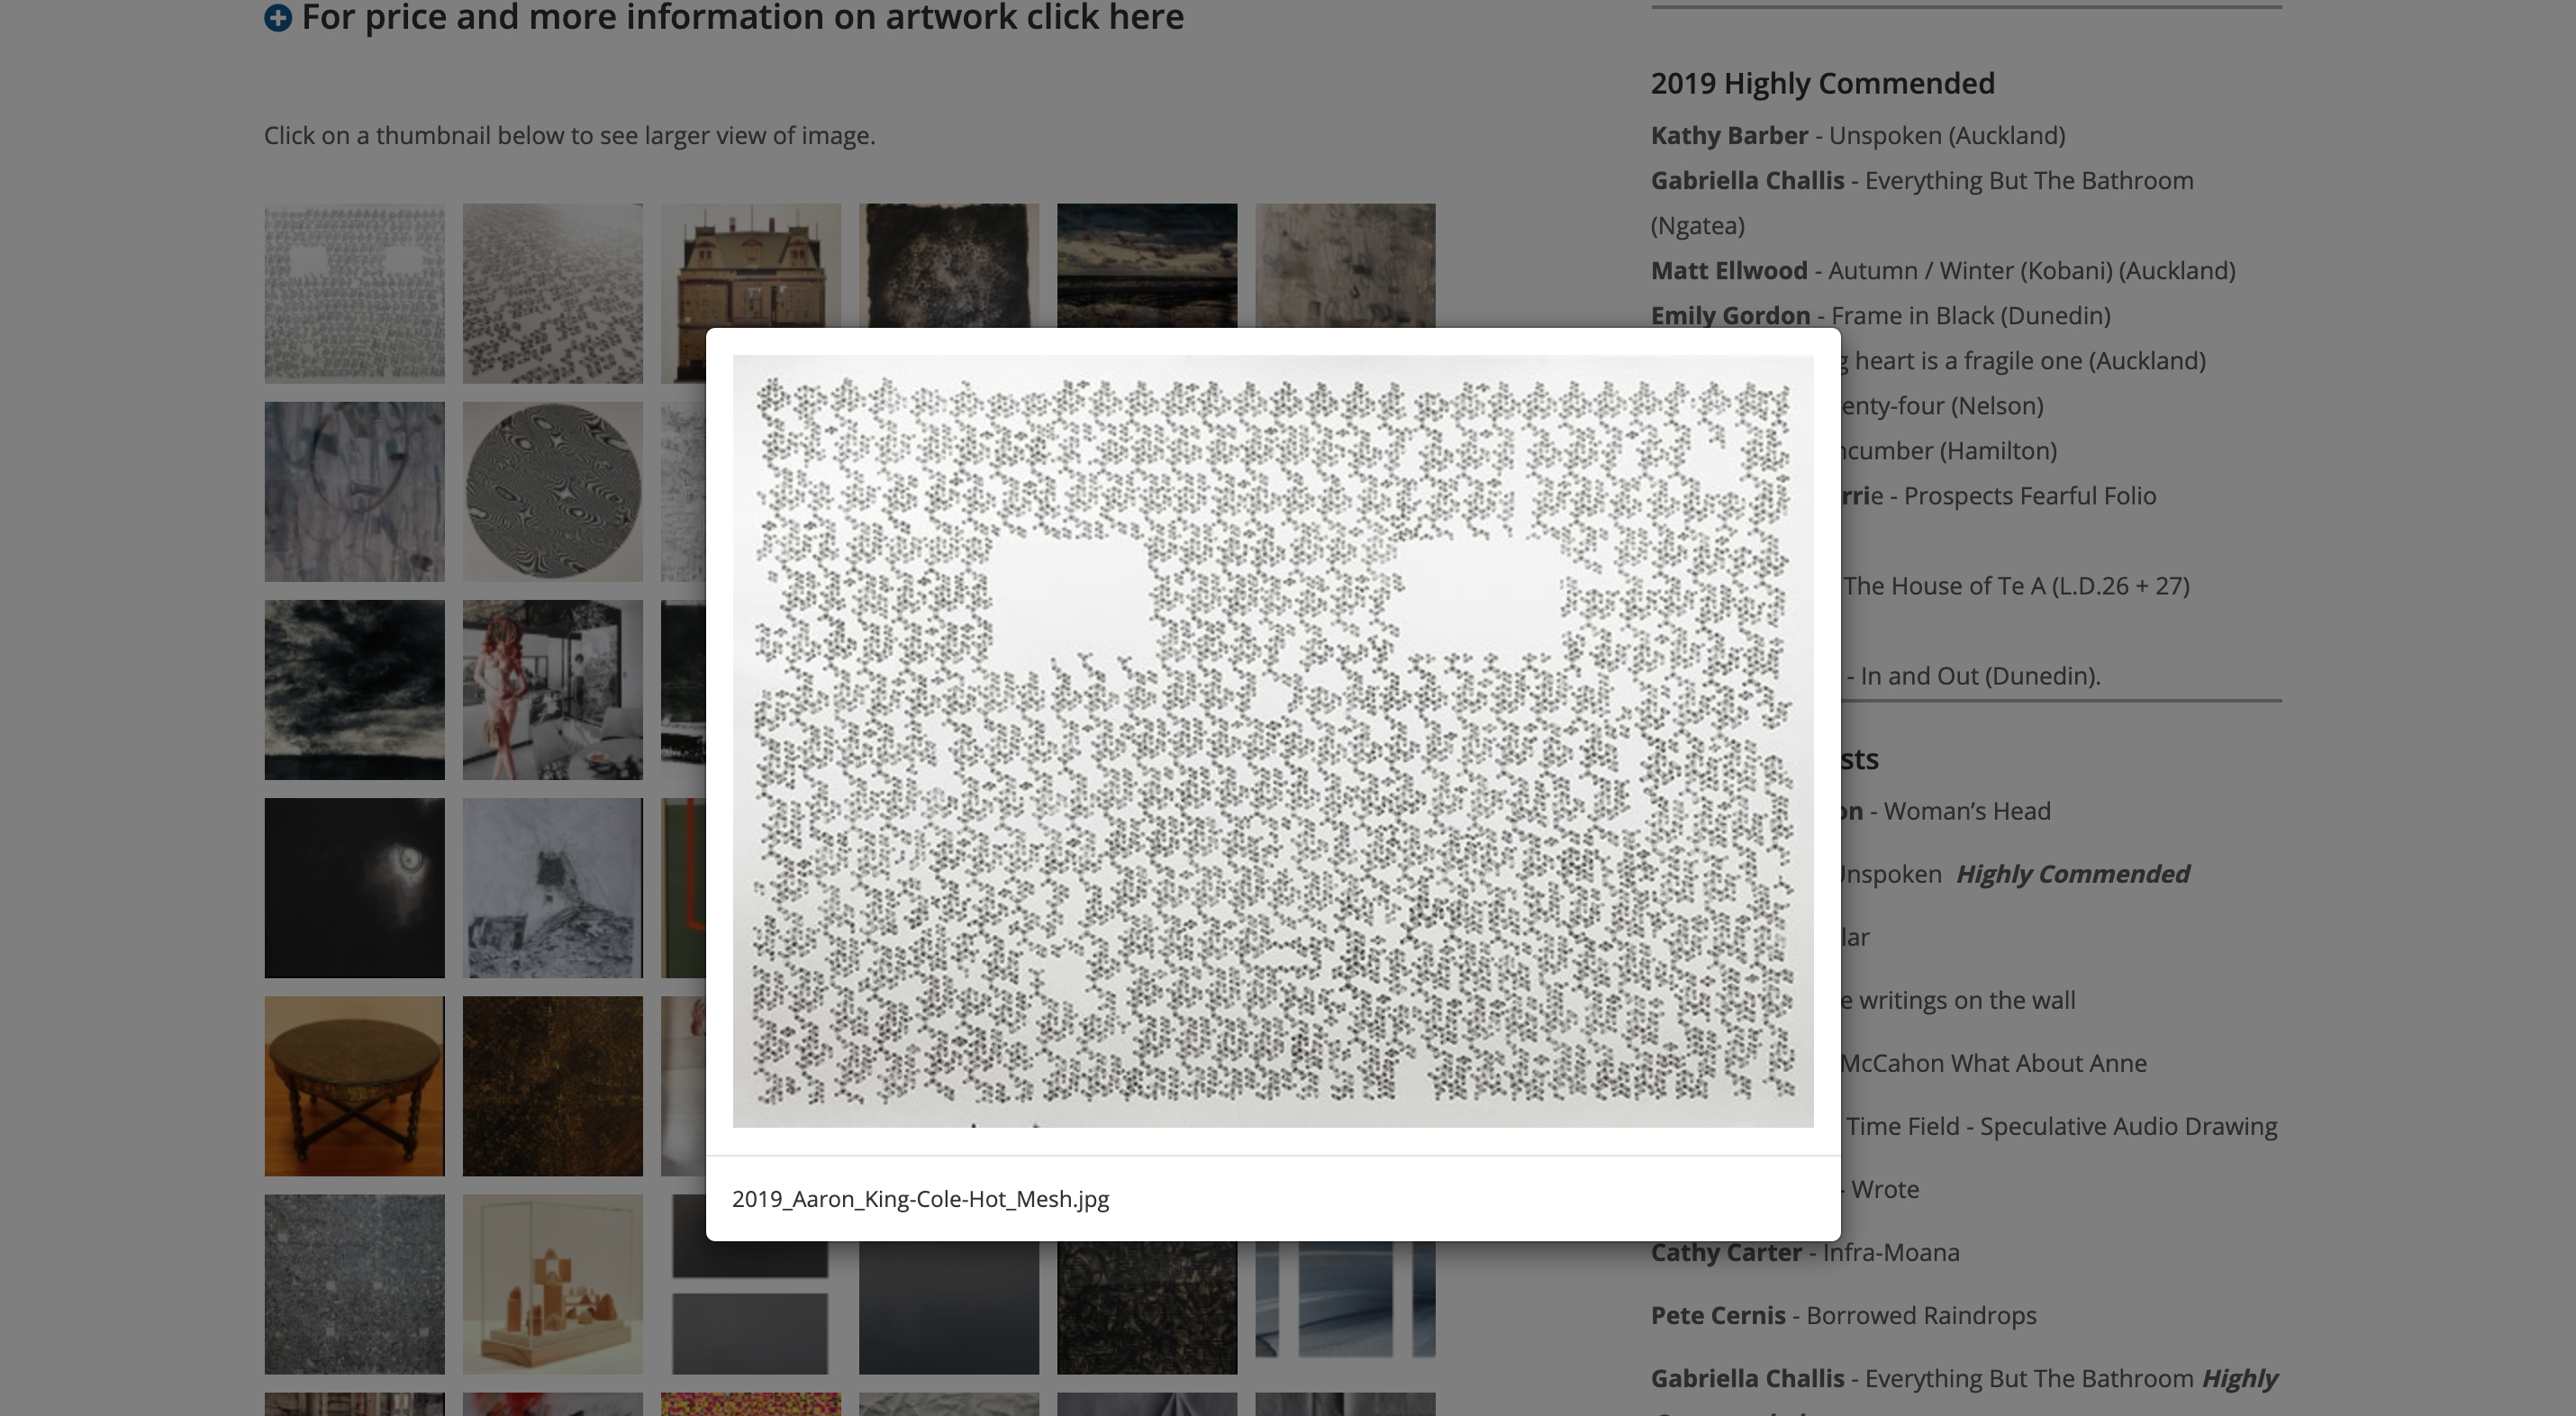
Below is a real live Gallery in action.
In Main Content, copy can be added above the preview/thumbnail images, as show in this example.
It is advised that you add the instructions below, so that first time users will know to click on the preview images.
"Click on a thumbnail preview below to see larger view of image."
Gallery is loading. Please wait. Javascript will need to be enabled to view it.


